


Contouring Makeup Tips To Wipe Years Off Your Face
When it comes to makeup, I prefer a less-is-more approach, so when it comes to heavy-duty contouring, the makeup technique to make a face appear more angular started getting some buzz in the beauty world, and I initially took a pass.
But I learned that right contouring can lift the jawline, make sagging cheeks appear fuller, and make those deep, pesky smile lines that run from the side of your nose to the corner of your mouth look less prominent, so I decided to try it.

Though I am still not a fan of heavy-handed contouring à la Kim Kardashian, I have discovered a few contouring tricks that can help lift the face and bring back some of the definitions we lose as we age. There are many detailed tutorials about this on YouTube, but for those who want a contouring lite version, here’s a quick, minimal-fuss lesson on contouring your 40+ face.
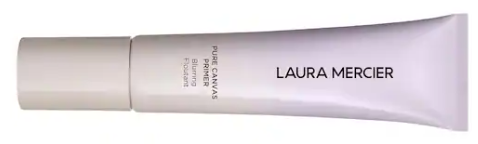
Laura Mercier Blurring Foundation Primer
1. Start with a Primer
If you are serious about contouring, I recommend applying a primer to bare skin. Primers, which usually contain silicone, provide a flawless base for your foundation or tinted moisturizer while filling fine lines, wrinkles, and pores. I admit I was skeptical when they arrived on the beauty scene many years ago, but they work! I have two favorites: Laura Mercier Blurring Foundation Primer (great for filling in fine lines and wrinkles, but you can get regular primer, too) and the cult-hit Smashbox Photo Finish Foundation Primer.
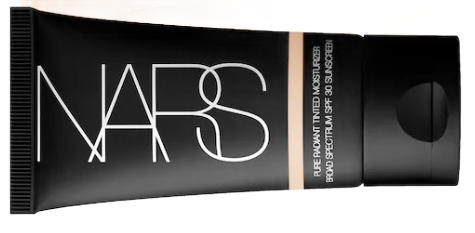
Nars Pure Radiant Tinted Moisturizer
2. Apply Foundation or Tinted Moisturizer
It’s your choice, but I’ve heard from many over-40 gals that they prefer a tinted moisturizer to the foundation, and I have to admit, I’m also on Team Tinted Moisturizer. I like the natural look and sheer coverage it gives me. I never feel like I’m wearing a mask. My favorite is Nars Pure Radiant Tinted Moisturizer. I rely on the Bobbi Brown Foundation in Ivory for the evening, which gives me a little more coverage than a tinted moisturizer.

Kevin Aucoin Duet Contour Brush
3. Select the Right Brush
I like to get up and go in the morning, so fiddling around with a gazillion brushes, each specific to some little aspect of applying makeup, has never been my thing. That said, I’ve found that using the right brush for contouring can make a night-and-day difference when achieving a seamless, realistic finish and keeps you from looking like you’re wearing streaky makeup. This is one time when the right brush is worth it.
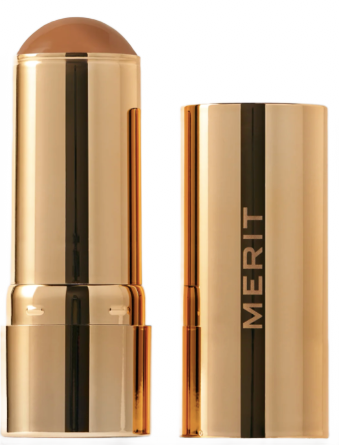
Merit Balm Bronze Sheer Bronzer Stick
4. Minimize with a Contour Color
The next step is to use a darker contour color. This helps minimize or recede the parts I want to downplay. Where you place the darker color depends, in position, on your unique face shape, but in general, here are some things to keep in mind:
- If your cheeks are fuller than they used to be due to weight gain, bring out your cheekbones by brushing your contour in a narrow line just on the underside of your cheekbone, from where your ear meets your jawline down towards – but not as far as – your mouth. (A good rule of thumb is to stop when your brush is parallel to your nostrils). Bring it up ever-so-slightly at the end so it almost, but not quite, ‘scoops’ your cheek.
- If your jawline is sagging, a) join the club and b) find where it sags and brush your contour shade just slightly above it and then along the jawline, almost like you’re trying to straighten the slack line the saggy part has created.
- If you have a broad forehead, starting at the outside edge, brush your contour shade up, over, and slightly down in the middle, then repeat on the other side. Here, you’re trying to ‘cut’ the outside corner and create a bit of a widows-peak in the center.
- If you have a thick nose and want to slim it down, run your contour shade down along both sides.
- If all of this seems like a lot to remember, one of the easiest tricks a makeup artist taught me was to pretend you were drawing an ‘E or 3’ on your face. So, starting with your brush at the center of your forehead and moving right, brush your contour along the perimeter of your face in the shape of the number ‘3’ on the right side of your face. Do the same thing on the left side of your face but in the form of a rounded letter ‘E.’
As for what contour product to use, I like Amazonian Clay Matte Bronzer the best. Hoola Matte Bronzer and Harmony Powder Blush also get rave reviews.
These are all powder formulas that some gals don’t like, too, because they tend to settle into fine lines. That’s another reason to start with the primer I mentioned above. Another option is a cream-based contour product like NYX Cream Highlight & Contour Palette.
5. Highlight
Finally, use a highlighter to give your face the definition we tend to lose as we age and hide shadows. Apply it to:
- the tops of your cheekbones
- the inner corners of your eyes
- the center of your nose
- your temples, where age-associated fat loss often creates hollows
- the center of your forehead, just above the nose
- the nasal labial line
- the shadows created by sagging lines that run down from the corners of the mouth
- the cupid’s bow at the center of your top lip

Beautyblender Original Makeup Sponge
6. Blend
Lastly, a makeup sponge can blend in any harsh lines. That’s it. You are done. This whole thing takes about 4 minutes!
I’m over to you. Do you use basic contouring to bring definition to your face? Do you have any tips you have to share?
Shop these favorite products for perfecting your contour:


I found it quite helpful when you recommended brushing our contour in a narrow line on the underside of our cheekbone if we have fuller cheeks. I got interested in makeup recently, so I wanted to try out newer and bolder looks on myself. I’ll keep this tip in mind while I shop around for highly pigmented contour kits I can use.
Thank you. I am going to try these techniques.
Thank you for sharing such beautiful information with us.
Great post, and I like your tips. Thanks a lot.